Since bow ties have become less prevalent over time, their significance as fashion accessories diminished; unfortunately this led to the misconception that only long neckties were appropriate and bow ties should only be worn as special occasion attire. Unfortunately this misconception led people to view bow ties as special occasion accessories rather than ones which complement various face shapes and can even be worn casually.
Men wearing bow ties often draw great admiration and appreciation from both women and older gentlemen, who both compliment them on reinvigorating this classic style.
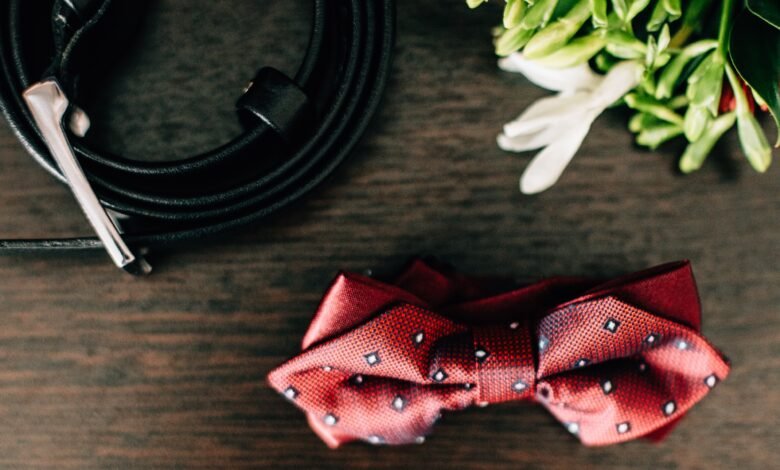
1. They are a statement piece
Bow ties stand out as an iconic statement of sophistication and old-world charm in a world dominated by neckties. Evoking images of magicians, country doctors and lawyers while recalling an age where elegance was truly an art form – they instantly add classic elegance to any suit or casual shirt ensemble! A well-tied bow tie can instantly elevate an ensemble to classic elegance.
Bow ties come in many styles and materials to express your individuality and style. If you want a traditional look, silk bow ties in solid or striped patterns might be just what’s needed; for something a bit less formal but just as stylish try knitted bow ties made of cotton or linen yarn instead. And for special events you could add a creative flair with novelty bow ties featuring holiday prints or other themes!
Bow ties come in various shapes and sizes to fit every look perfectly. For an elevated style, pair your bow tie with matching pocket square or cufflinks for an elevated aesthetic that is sure to wow your audience – add matching shoes for complete outfit.
2. They are a fashion accessory
The bow tie is an extremely versatile fashion accessory that can enhance a man’s look in various ways. It can be worn with suits for formal events or worn casually with jeans and button-down shirts for casual affairs. In terms of colors and patterns, there’s sure to be one to suit every personal style – be it formal or casual attire.
Bow ties may have fallen out of fashion over time, but they’re back! Bow ties have made an unlikely comeback and can now be found being worn by people looking to make a fashion statement and stand out from the crowd. Many may feel intimidated by how to tie one correctly; with practice however they can quickly become experts at wearing bow ties.
Bow ties come in various fabrics to suit every occasion and dress code, from formal events such as formal dinners to more informal ones such as outdoor concerts. Silk bow ties add an air of elegance that makes any look memorable; whether tied in traditional butterfly style or using slimline designs. They look fantastic when worn with regular, point, cutaway and button down collar shirts!
No matter if it is worn to an official event or just to add some flair to everyday attire, bow ties never fail to draw attention. They make you instantly more confident and stylish while giving a sense of pride when others respond positively to them.
3. They are a way to express yourself
Bow ties are an effective way to express your personal style. From casual suits and formal attire, as well as wearing them without jacket for a more casual feel, bow ties make an eye-catching accessory and will get people talking – people will naturally be curious to know more about your look and may ask you questions about it!
Some men believe bow ties are only worn by old school boys and nerds; however, this is far from the truth. Bow ties can be worn by anyone who feels confident enough in themselves and knows how to pull off wearing one successfully. With plenty of styles and colors to choose from, bow ties allow anyone who’s willing to experiment to craft an individual style that is sure to turn heads!
Bow ties pair well with any color suit, though neutral or solid hues work best. In terms of shirt colors and fabrics, you could even experiment with pairing one with stripes or checks; adding pocket squares or cufflinks that coordinate will complete your look!
Bow ties can be worn to exude tradition and elegance. Reminiscent of an era when men took pride in their style and attention to detail, bow ties remain an iconic statement piece that communicates a timeless sophistication in any setting.
4. They are a way to make a statement
Bow ties can make a statement by adding elegance and sophistication to any outfit, standing out from the crowd, expressing yourself confidently through style, and showing that you know yourself inside out. Bow ties come in numerous styles so that you’re sure to find one to suit both your face shape and personality; wearing one will garner compliments from women as well as young men alike!
Bow ties can add style and distinction to any look, making you appear elegant on special occasions such as weddings. However, they’re equally useful as part of a professional suit or casually worn with jeans!
Bow ties may seem outdated, but they’re an elegant and sophisticated addition to any look. Additionally, bow ties can show your creative spirit or show your humorous side – perfect if you want to show off your sense of humor! Bow ties have long been popular as an emblematic nod to particular periods or eras as well as being used as an expression of personal identity and distinctive style.
Bow ties may seem passe, but they’re actually making a comeback! Many men have taken up bow ties as classic menswear accessories and made it part of their style; many even forgoing long neckties in favor of an impressive stockpile of bow ties that they exclusively wear.